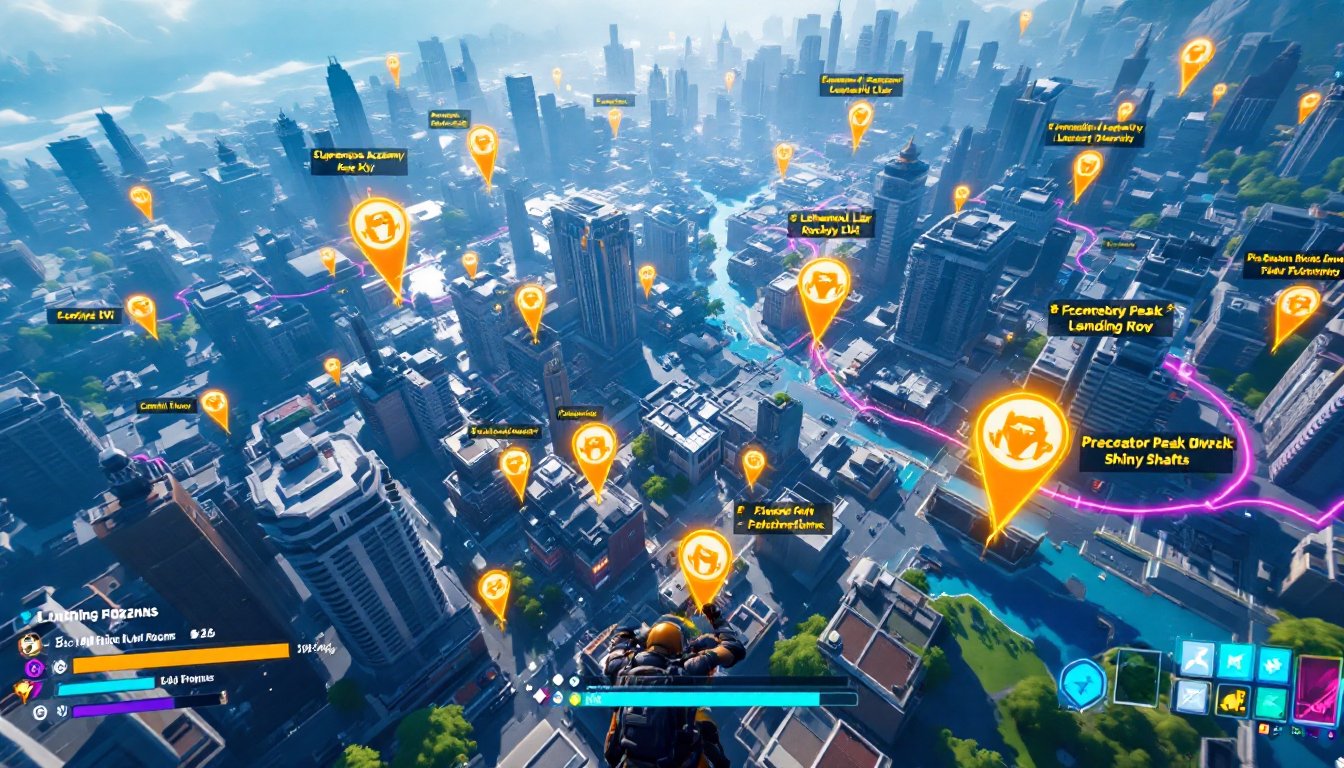

Landing spot choice defines your entire Fortnite run. The difference between a Victory Royale and an early elim often comes down to where you touch down and how fast you loot. Fortnite Chapter 6 has reshuffled the map across multiple seasons, creating new hotspots and hidden goldmines for players who know where to look. Whether you’re grinding ranked, playing casuals with squad mates, or hunting high-action early fights, understanding the meta landing spots, and knowing when to deviate, separates consistent winners from the rest. This guide breaks down the best Fortnite Chapter 6 landing spots by playstyle, covering competitive powerhouses, solo survival picks, team-friendly zones, and the underrated gems that savvy players abuse for free loot.
Table of Contents
ToggleKey Takeaways
- Fortnite Chapter 6 best landing spots vary by playstyle—competitive players thrive in high-action zones like Crime City, while solo players succeed in quieter, hidden locations with reliable loot like Predator Peak Overlook and Flooded Frogs.
- Landing spot choice directly impacts your entire run; competitive meta spots reward game sense and mechanical skill, while underrated gems like Shiny Shafts offer unopposed loot when bus routes bypass them.
- Squad landing success requires pre-assigned drops to medium-large POIs with multiple chest clusters (Crime City edges, Lonewolf Lair, Kappa Kappa Factory) and coordinated looting that prioritizes nearby mobility items like Shrines and Sprites.
- Fortnite Chapter 6 seasonal map changes shift POI values significantly—what worked in previous seasons may become ineffective, so adapting your landing strategy to current meta rotations and mythic locations is essential for consistent wins.
- The key to solo survival is landing safely at edge spots with fast 45-60 second loot times, then rotating toward mid-game action when early droppers have already fought, prioritizing access to movement items for control.
Top-Tier Landing Spots for Competitive Players
High-Action Urban Zones
Crime City dominates Season 2’s competitive meta. It’s centrally positioned, packed with close-proximity chests, and drops you directly into constant early fighting. If you’re hunting eliminations and can survive the chaos, the loot density and center-map rotation make it mandatory. The constant action also means third-partying is guaranteed, positioning matters more than spray control here.
Supernova Academy in Season 4 stands as one of the busiest, best-looted POIs on the map. It’s a chaotic sprawl of buildings, making it perfect for teams that can coordinate or solos confident in their 1v1 game. The downside: expect 8-12 players dropping. Loot fast, secure high ground, and rotate immediately toward adjacent Shrines and Spires for mythic access.
These zones reward game sense, mechanical skill, and the ability to win early engagements. If you can’t consistently take fights in your first minute, consider the next category instead.
Contested Named Locations
Lonewolf Lair (Season 2) attracts competitive players specifically for its vault access, abundant chests, and gold spawn rate. It’s heavily contested, but the mythic value justifies the risk.
Rocky RVs (Season 4) sits west of Supernova Academy, strong loot density with lower traffic than the main POI. Smart players loot here, then rotate into the chaotic center when it’s 50v50 and third parties are abundant. This gives you a gear advantage on weakened opponents.
Contested spots reward decision-making: know when to commit to the fight and when to ghost-rotate past it. Consistent competitive play isn’t about taking every engagement: it’s about taking the fights you can win.
Solo Landing Strategies for Survival and Loot
Solo is unforgiving. You need consistent, reliable loot without getting third-partied into oblivion in your first minute.
Predator Peak Overlook is small, hidden, and criminally slept-on. You can loot a complete loadout in 45 seconds and dip before the bus route brings second-third parties. It’s Season 2’s secret weapon for solos grinding toward top-50 placements.
Flooded Frogs offers high chest density with relatively low traffic. Land on the eastern edge, avoid the named POI center, and you’ll have gray-to-blue loot within a minute. The water rotation also gives you escape options, mobility is survival in solos.
Yokina Boardwalk is underrated for metal farming. If you need shield-break potential early, the building density and chest clusters make it a fast-exit spot before rotating toward Sprites or Shrines for mobility.
Outlaw Oasis gives you a calm early game with the option to pivot aggressively into Crime City as it opens up. You’re not competing for initial loot: you’re positioning yourself for mid-game fights when early droppers have already fought it out. The key is understanding that Fortnite strategies evolve season by season, your landing choice should reflect the current meta and your mechanical confidence.
Prioritize routes with fast access to movement: Sprites, Shrines, and mobility items turn survival into control.
Team Landing Tactics for Squad Play
Squads need enough real estate for all four players to loot independently while staying close enough to support a fight.
Crime City edges work well for trios/squads. Assign each player a building cluster, north side, south side, warehouse district, commercial zone. You loot in parallel, consolidate in 90 seconds, and push as a unit. The central position also means fast rotations into mid-game action.
Lonewolf Lair scales beautifully for squads. One player takes vault duty, two handle the main building clusters, and the fourth secures perimeter chests. The gold abundance means everyone leaves with shield and utility.
Kappa Kappa Factory (Season 4) and Swarmy Stash are medium-tier POIs with enough buildings and chests for squad coordination. They’re less contested than Supernova, so you can loot methodically without constant pressure.
Key team principles: pre-assign drops before the match, focus on areas with multiple chest clusters, identify material sources (metal buildings, wood trees, brick structures), and map clear rotation paths. Shrines and Sprites near your landing zone turn a squad with decent loot into a squad with mobility, that’s the difference between rotating safely and getting pinched.
Best Fortnite tips for squads involve consistent callouts and loadout awareness. Know what your teammates have before committing to a fight.
Underrated Gems: Hidden Spots with Great Loot
The meta landing spots are meta for a reason, but they’re also predictable. Savvy players exploit the gaps.
Shiny Shafts (Season 2) is a large underground cavern with multi-layer loot. It’s chaotic and confusing if you don’t know the layout, but once you memorize the chest spawns, you’re looting unopposed chests while the surface POIs fight.
Oasis outposts and unnamed bases northwest of Frigid Fortress are chest-dense, quiet zones. You won’t see another player. Loot clean, rotate toward Shrines or named POIs, and enter mid-game as a ghost.
These hidden spots thrive when the bus route bypasses them. Check the bus path before committing, an off-angle drop becomes terrible if 6 players ghost-ride the route directly overhead.
Fortnite tips from competitive players often highlight that the “best” spot isn’t always the famous one. It’s the one you can control consistently while the map’s heat cools. Underrated gems win games because they’re low-variance: you know exactly how much loot to expect, and you rarely fight for it.
How to Choose Your Landing Spot Based on Game Mode
Different modes reward different landing philosophies.
Solos: Prioritize quieter edge spots with reliable loot (Flooded Frogs, Rocky RVs, small outposts). Survival and positioning matter more than early eliminations. Land safely, farm for shield, and let other players feed each other. Late-game 1v1s are where solos are won.
Duos/Trios/Squads: Favor medium-to-large POIs with enough buildings for your team size. Crime City edges, Lonewolf Lair, and Kappa Kappa Factory offer enough chests and materials for coordinated looting. Communication and rotation timing matter more than individual loot, a stacked squad with mobility beats a solo duo.
Ranked/Competitive Customs: Consistency is king. Drop the same POI every game, learn every chest spawn and material node, and master the rotation into mid-game circles. Competitive players abuse predictable drops because they control the variables: they know how much loot they’ll have, how long it takes to farm materials, and the safest path to zone.
New seasons shift these recommendations, what worked in Season 1 might be awful by Season 4 due to map changes, Shrine locations, or mythic rotations. The best approach is staying updated on seasonal changes so your landing strategy doesn’t become a liability. Check pro guides and streamer hot-takes when the season drops: they’ll reveal which POIs have shifted in value and which hidden spots are worth abuse before the nerf.
Choosing your landing spot is choosing your game plan. Land smart, execute faster, and let your skill decide the Victory Royale.